TRACK REPLACEMENT VMAX 4 by Speedmax4
Disassembly: I recommend that as your disassembling that you lay your parts off to the side in a sequential order so you don’t run into problems trying to remember where spacers, bolts, etc. go.
STEP ONE: Lift the rear of the sled at the rear bumper with a jack, jack stand or pulley system.
STEP TWO: Loosen the rear axle nut and then loosen both track tension/alignment nuts until they are flush at the end of the bolts. You want as much track free play as possible.
STEP THREE: Remove the two bolts that hold the upper idler shaft assembly to the tunnel and remove the shaft.
STEP FOUR: Remove the four suspension mounting bolts from the tunnel.
STEP FIVE: Now make sure the rear of the sled is high enough so that you can remove the skid from the side. The skid is now free but the track lugs will tend to hold the skid in place and the skid will have to be worked over and out of these. Once the skid is out this is an excellent time to see what maintenance it may need. Check the hyfax slides, idler wheels and bearings, shocks, clean and grease pivot shafts, etc.
STEP SIX: The front drive axle needs to be removed to get the track out and you can start that process by locating the speedometer cable where it attaches to its drive assembly located below the secondary. Unscrew the cable and then remove the three bolts that hold the speedometer drive assembly and shaft bearing plates in place. Now you can remove the nut that holds the bearing and it should slide off the shaft. This is a sealed bearing and if you feel any roughness or the bearing is leaking grease replace it. Better now than have it fail while your out on the trail.
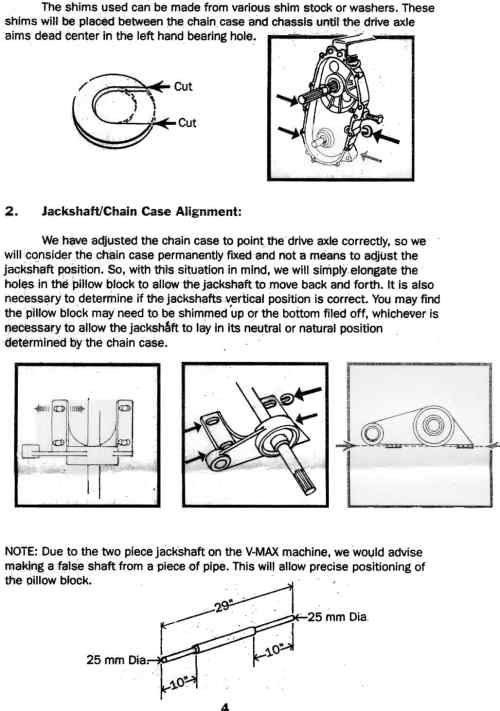
STEP SEVEN: Move to the chain case side of the sled. Remove the exhaust silencer. Remove the two bolts that hold the caliper to the chain case and move it out of the way. Might want to check brake pad wear to see if they need replaced. The disc brake rotor should now slide off its shaft. Drain the chain case and then unbolt the chain case cover and remove. Remove the bolt holding the lower gear and then loosen the chain adjustment. Remove the gears and chain.
STEP EIGHT: Remove drive axle and track from the bottom of the sled.
Reassembly: Reassembly is basically the reversing the steps of disassembly. <o>
STEP ONE: Once you have your track set to the correct direction of rotation slide the track around the drive axle and sprockets and install under the sled. Be careful not to damage the seal in the chain case as your reinstalling the shaft.<o>
STEP TWO: On the secondary side install inner bearing plate, bearing and nut, outer bearing plate, speedometer drive pin, speedometer drive and cable in like manner as you removed them.
STEP THREE: Install the gears, spacers and chain. Bolt the chain case cover into place and oil in the chain case. Tighten chain adjustment bolt until it is just snug or what the manual defines as finger tight and then tighten lock nut. Install brake rotor and caliper. Install the exhaust silencer.<o>
STEP FOUR: Work the skid back into the track over the track lugs into position. Now patience will be required as you line the skid mounts back to their bolt holes in the tunnel which can often be a challenge. Do the front first and then the rear.
STEP FIVE: Install the upper idler shaft back into place under the tunnel.
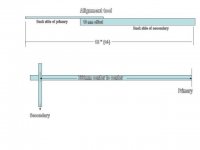
STEP SIX: You are now ready to set track tension. If you have a track tension gauge that’s great but a fish scale and ruler will do the trick. The factory setting is 22lbs at .79” to .98“. In other words if you hook your gauge or fish scale to a track window at about the mid-point of the track and are pulling at 22lbs of force there should only be approx. ¾” to 1” gap between the bottom of the slide to the top of the track clip. I have a couple hundred track studs so I prefer mine towards the tighter side to prevent ratcheting and the studs hitting the bulkhead. Start the process by making sure the axle nut is only loose enough that the axle will move. If you have it real loose it effects alignment when you tighten it back up. Next tighten the alignment/tension bolts an equal amount of turns until the track snug. Start the sled and run the track a couple of turns and let it stop on its own. Now is the time to do your adjustments and then redo the process. Measure from the outside of the track lugs to the slide just in front of the rear wheels on each side to check your alignment and then check your track tension. If you tighten the nut it will cause the track to move to the opposite side of the nut you’ve tightened and if you loosen the nut it will cause the track to move toward the nut you’ve loosened. Don’t make big adjustments, usually about half a turn at a time. Once you’ve got it aligned and tension set tighten the axle nut and check again. The track is probably going to seem tight but they always seem to loosen a little after there run.

